


You finished (or purchased) your first oil pastel art piece. Congratulations!
But… now what?
The unique properties of oil pastel that make it richly textured and reworkable also make it susceptible to smudges, dust and debris. So, it will need to be matted and framed.
Some oil pastel artists use a spray fixative and display their work without glass. I am accident-prone and can’t trust myself not to bump into a piece, plus some fixatives may have a slight darkening effect. Consequently, I choose to frame my art.
Professional framing is wonderful, but this gets expensive quickly–especially for larger work. While I’m **not a professional framer**, I’ve found a DIY routine that will preserve my art beautifully for years and is saving me hundreds of dollars. This process works for pastel, oil pastel, charcoal, or other framed art, requires only simple tools (a drill, screwdriver, scissors) and can even be fun. Ready? Here we go!
First, shop for a frame.
I start by looking for a solidly built wooden frame with glass.
Wooden frames are easier to drill into if I need to move or replace hanging hardware. Some good places to shop are local second-hand/charity stores, followed by flea markets and garage sales or auctions. New frames go on sale regularly at craft stores. Bring a tape measure when you shop, measuring from the back, inside frame dimensions rather than the front outside dimensions of the frame (as shown in the frame pics below).
[ A note for artists: I choose my frame before I even start the piece. I’ve found that it is much easier to make art that fits a frame than to find a frame that fits the arbitrary size I made my artwork. If possible, choose a common ratio that is easy to find frames for and size up and down for prints— 11×14″, 16×20″ etc. When beginning your piece, cut your canvas/paper just slightly smaller than the inside measurements of the frame. Then mask off your working area to just slightly larger than the innermost mat dimensions, leaving a clean perimeter around the working area for the mat. ]

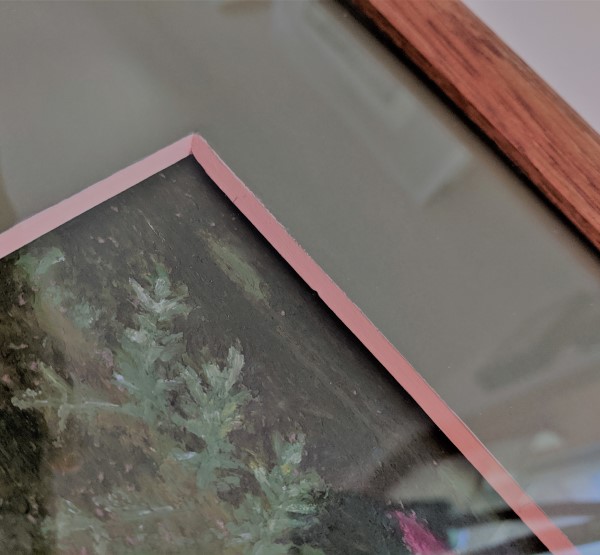
Ideally, the frame will come with a double mat which will separate the art from rubbing against the glass. Double mats are also great for enhancing your art with extra visual punch–drawing the viewer in like a great haircut around a pretty face.
I found this matted frame for under $15 at a charity store clearance sale.
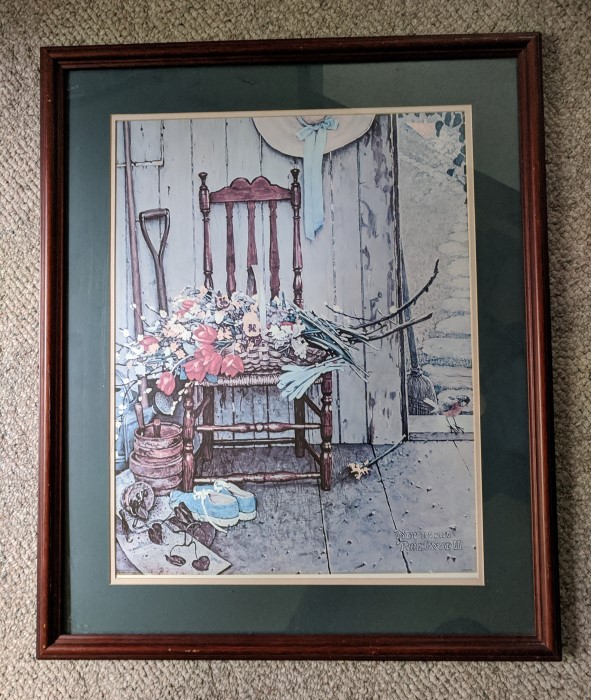
24×30″ frame with double mat 
Next, take it apart.
If there is paper protecting the back from dust, tear as much of it off of the frame as possible. Carefully bend up or remove the staples/tabs/turn buttons with a flat-head screwdriver and pop the art and mat out, if the frame came with art or a print in it. Save the cardboard backing. Use furniture polish to clean the frame, soap and water for the glass. A very slightly dampened paper towel removes any streaks on the glass.
Peeling off the brown paper backing. 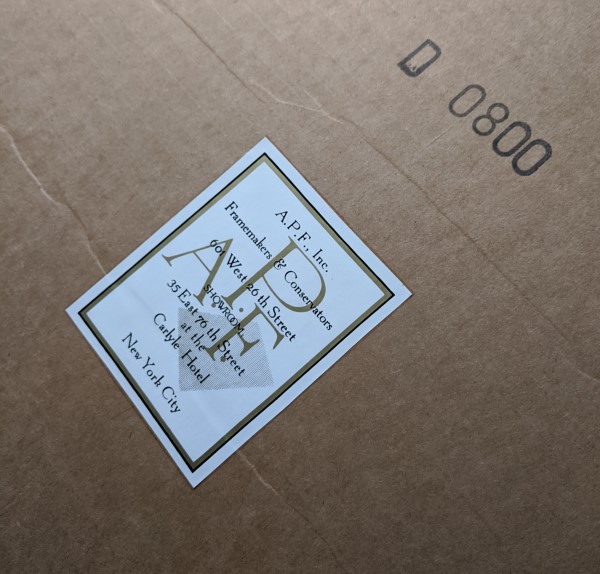
This print was originally in the Carlyle Hotel in New York City
Fix up the frame.
This one had nicks in the wood and paint streaked on it. Very fine grit sandpaper removes paint, and wood-tone furniture markers fix shallow scratches, sanded bits and missing varnish. If the frame is missing a lot of paint or stain, I just sand it and re-paint it simple glossy black.

Sanding off paint streaks 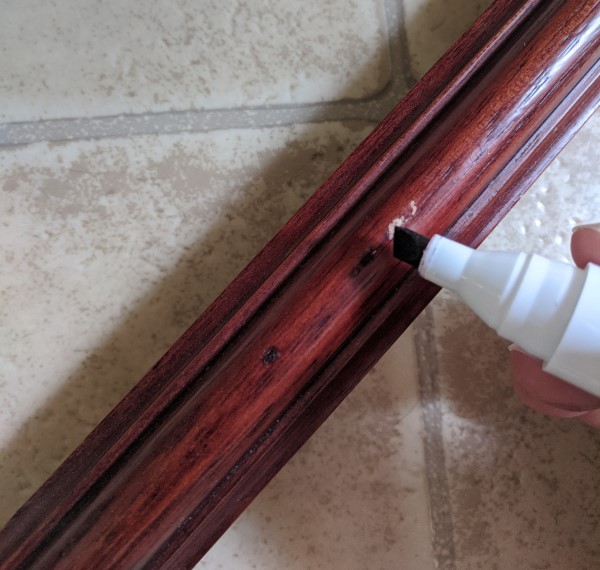
Covering scratches
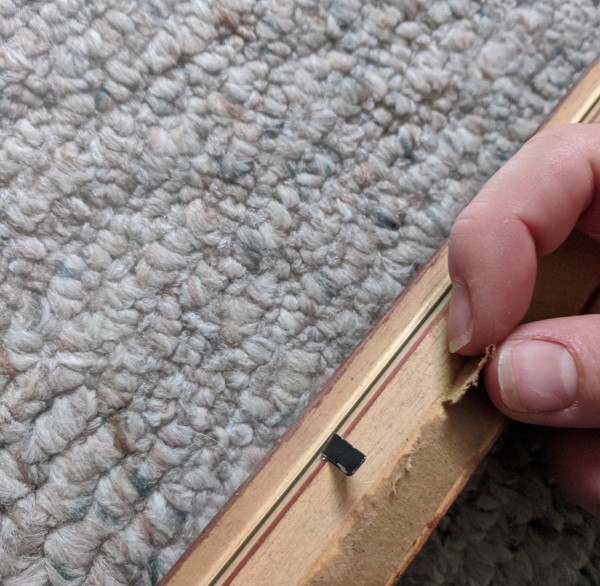
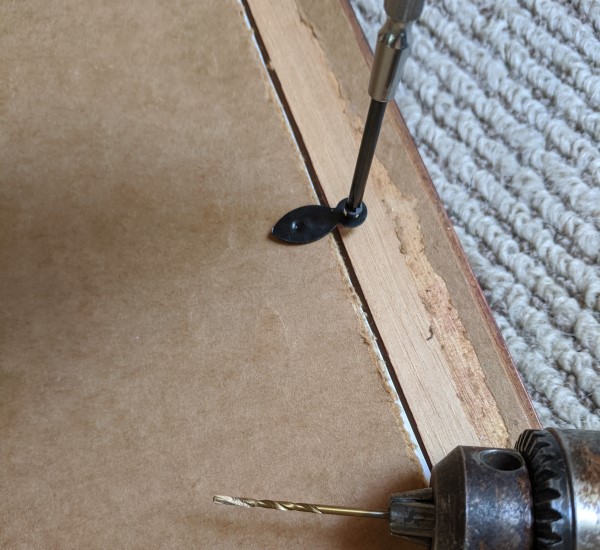
Check the hardware.
This frame came with hanging wire attached, but it was oriented vertically and I needed it to be horizontal. I unscrewed the hardware, and drilled new holes a little smaller than the hardware screws a third of the way down from the top of the frame (horizontally). Later I will replace the wire which will need to be longer now.
Replace glass if needed:
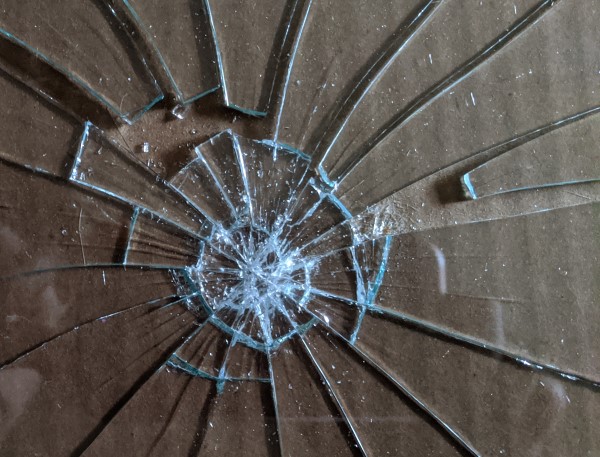
I also somehow cracked the glass the frame came with (yep, accident prone), so that needed to be replaced too. As a side note–– if you ever break a large piece of glass, put on gloves, wrap the largest pieces in newspaper and tap them with a hammer to break them down. Wrap tape around the glass-filled newspaper and put it in a cereal box or bag for safe disposal.
I had a couple of replacement options: I could get plain glass or plexiglass/acrylic, which is lightweight and shatterproof. Some art competitions have weight limits, necessitating the acrylic. Can’t decide? Read this:
https://www.logangraphic.com/blog/glass-versus-plexiglass-which-is-better-for-picture-framing/
A hobby store may have cling-wrapped sheets of clear plastic, and those stores also frequently have online coupons available.
You could also use the plastic from a cheap poster frame, trimming it to size with scissors. This option would work well for a smaller frame. For my large piece, thin plastic was too floppy to lay flat in the frame. I got a piece of 24×30″ glass cut down to size at a home and garden chain-store for $12 minus tax. You can also find small frames with glass at a dollar store.
If you can afford to, get museum glass. It reduces glare and reflections, while protecting the art from harmful UV rays. This link helps explain the different types available:
https://blog.frameusa.com/what-are-the-different-types-of-picture-framing-glass
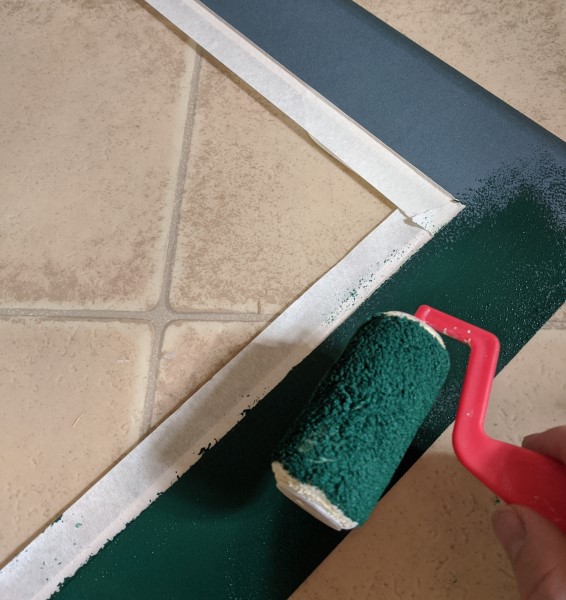
Update the mat.
You can use the original mat if it is not warped or wrinkled. Any faded colors or water stains can be painted over.
For this one, I carefully masked the inner mat and covered the stained outer mat with matte finish $1 craft paint mixed in a teal tone complementary to my art. I used a small roller for quick and smooth application–be sure to remove any paint lumps that appear before they dry.
You can also get a new standard-size mat at a craft store. A store with a framing department may be able to trim any mat you bring or buy for a small fee.
I am paranoid about the mat being acid-free, so for old mats I cut pieces of sketch paper to the dimensions of the mat, and paste them to the underside of it with acid free glue.
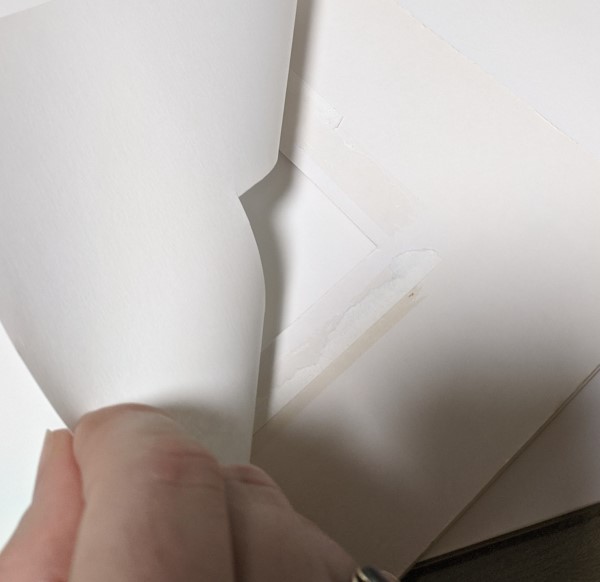
Elevate the mat off the art slightly so the O.P. doesn’t rub off onto the inner edge of the mat. This will also create a little “pocket” where any extra pastel crumbs will fall instead of floating around in the frame.
You can do this with strips of double sided foam tape (found near hanging hooks and hardware at a superstore), affixed to the inner edge of the mat. Make sure the tape will be at least 1/8″ from the painted part of your art. Cut strips of paper the same size as the foam strips and stick them to the exposed sticky sides, preventing the mat from getting stuck to the art.
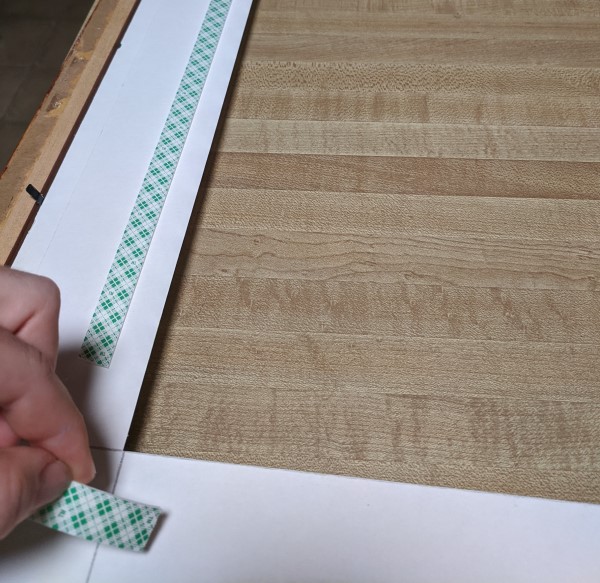
Affixing the foam mounting tape to the mat 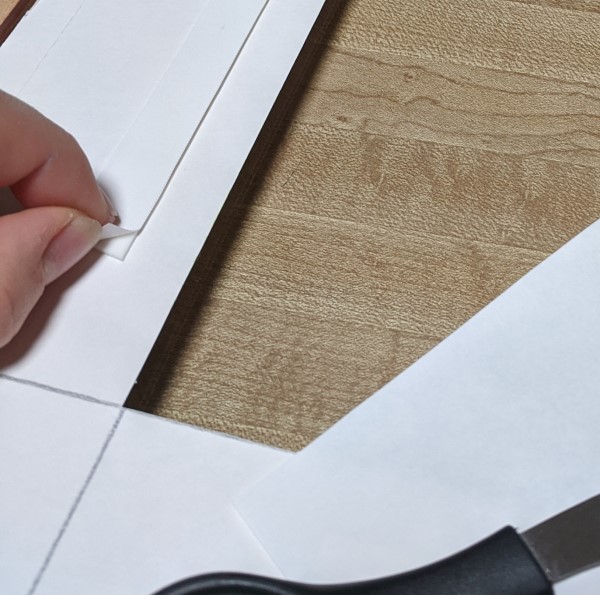
Sticking paper strips to the tape so the mat won’t stick.
Place a piece of acid free cardstock or sketch paper directly underneath your art as a barrier from the acids in the cardboard backing.
Finish placing hardware.
Replace the turn buttons you removed to get the frame contents out (if they were staples or nails, you’ll need new turn buttons). When replacing old hanging hardware, I prefer D-rings and wire for supporting lots of weight without sticking out too far. D-rings and wire can be found cheaply at “Wallyworld”, and new turn buttons at a big-box craft store or online. Wire one side of the frame and leave the other unwired for now because you will be adding a paper dust cover for the back.
Cut a dust cover.
You can find rolls of brown paper sold with shipping supplies. I “measure” the paper by setting the frame on top of it, drawing on the paper around the outside perimeter of the frame, and cutting about a quarter inch smaller than the pen markings. I use acrylic medium to glue it down, but school glue or wood glue would probably work. Make slits in the paper where the hanging hardware is so you can cut around it. Then attach the wire to the other side of the hardware.

Pasting paper to back 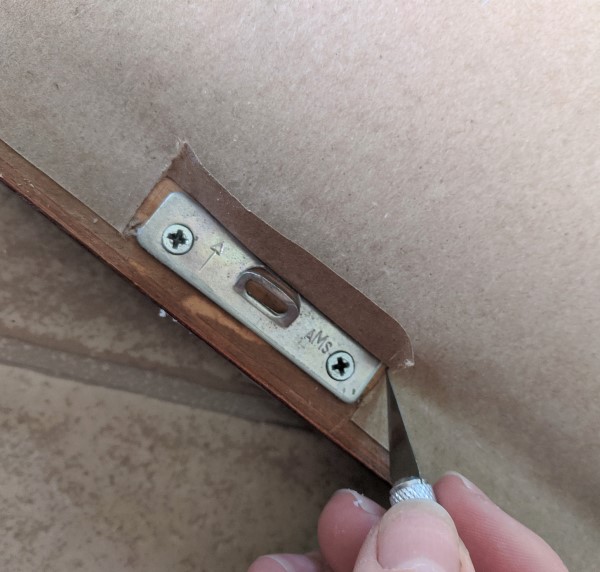
Cutting around the hardware 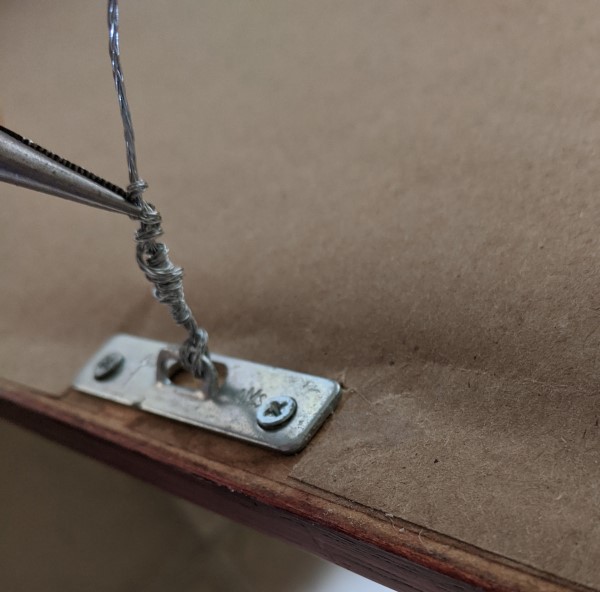
Attaching wire
If you will be hanging the art near a window, you can even get a roll of uv protectant sheets to apply to the glass to protect it from sunlight, available from online retailers.
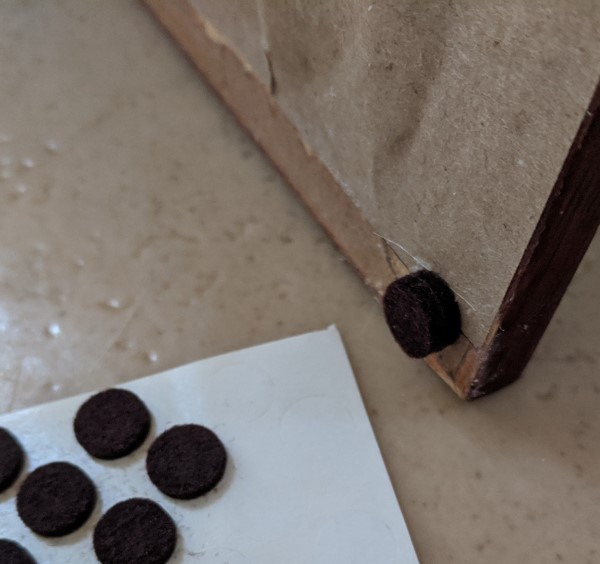
I stick felt bumper pads to both bottom corners to elevate the lower half of the frame off the wall so it will hang more evenly, since wire hanging tends to tilt the picture at an angle off the wall.
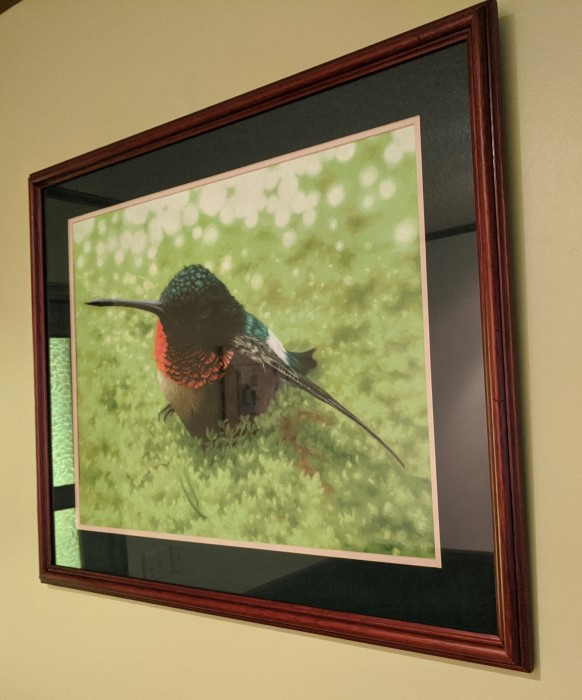
There–all done, and at a fraction of the cost! Your art is now ready to be hung.
Questions or comments on framing your work? Let me know below! 🙂
